
The roof is complete, the house is stained, and the trim is stained and on. So, our next step is windows. One big benefit of getting the windows in is that people can stop looking at the cabin and saying, “But there’s no windows?”
Since you just cut a square into the logs for the window, you need something for the window to go into and be attached. So, we built boxes for the windows to go into, and then used the box to mark on the wall where the cuts should be. Once again this was another exercise in measuring distances without any straight lines or flat spaces to determine the spacing of where the window should be placed on the wall.

Then we outlined the box to make a guide for cutting and removed the box.

Then, it was time for the first cut. This was pretty scary because we’d never cut into our house before and there’s no going back!


This process took much longer than we anticipated.

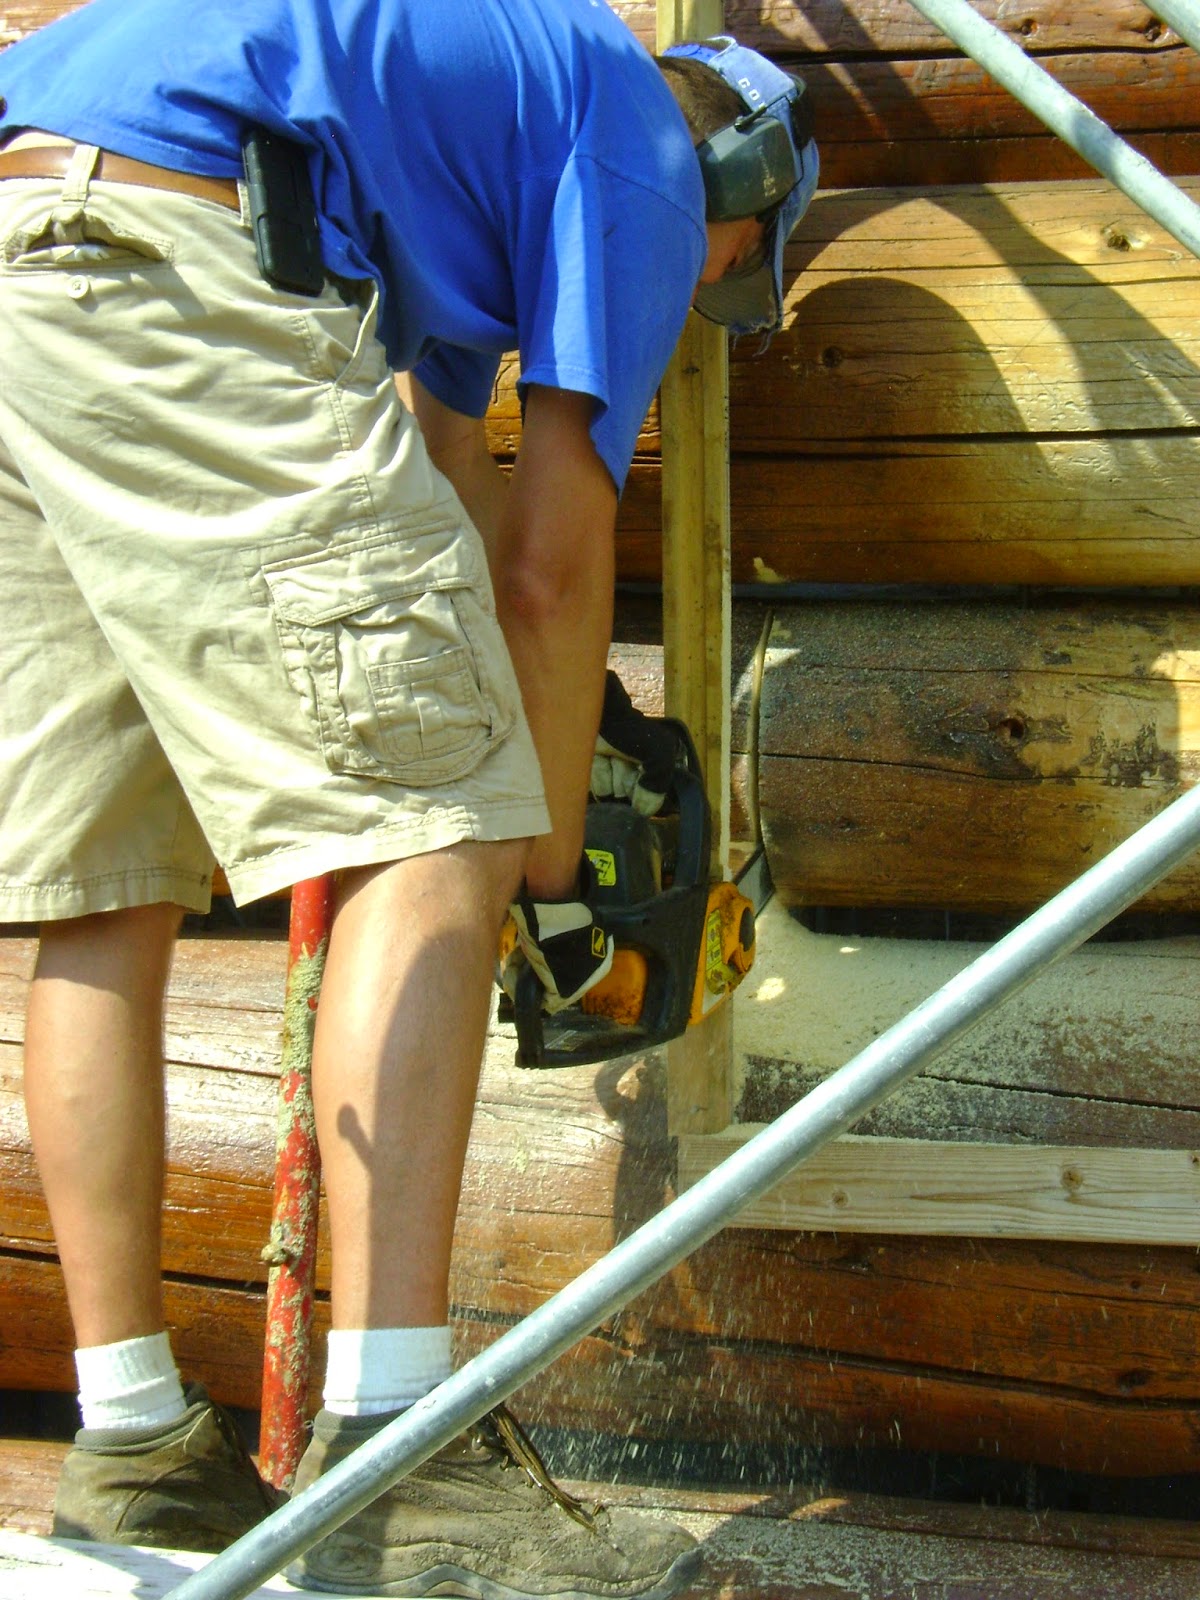
First window cut. This is the small kitchen window that we decided to start with. The part that is really time consuming are any horizontal cuts. Ideally, the top of the window would go in between two logs, as this one did, and the bottom would also go in between two logs, so no horizontal cuts are needed. But, with a set window size but varying log sizes, that’s just not possible. So, you have to try to make a straight horizontal cut, which is pretty difficult. This is not as easy as it looks on TV!
Once the hole has been cut, we tried to fit the box back in, of course since the cuts weren’t perfect this was easier said than done. Then came the process of trying to shave parts off.

What happens to the log pieces once they’ve been cut out, you ask? Obviously, they fall out. – a problem for us because if they fall inward, they would go crashing down onto the basement concrete floor – which is not ideal. So, once the logs were getting close to being cut free, we hooked them up with ropes to pull them outward. Once we got to the upstairs windows, we had a bit more of a pulley system because we didn’t really want them crashing down outside either due to safety concerns.
I should note that because of the alternating rebar pattern when placing the logs originally, the logs are also connected to each other via rebar throughout, so all horizontal cuts also involve cutting the rebar to free the logs. This is also very time consuming.
One of the problems with our upstairs windows was that due to height limitations for the house, our upstairs windows go into the gable ends and are not completely surrounded by logs. So, we had to determine how and when best to install those windows and how it impacts the gable ends. We decided that we could/should go ahead and install those windows before we finished the gable ends.
Here are all of the windows cut on the front wall. The upstairs boxes are in to confirm placement and the first window we cut has been installed.


Since we had to adjust the height of the house during the planning phase, we lose a row of windows that were supposed to be at the very top. To maximize light we increased the size of the remaining upstairs windows as much as we could. This means very heavy windows! Luckily, on the front wall we’re dealing with level ground and only one story to reach the windows. We had a couple of Kenyon’s family members to help install those upper windows.

Since the top of the window isn’t really anchored into anything, Kenyon braced the windows until the gable ends are finished. It doesn’t look like much, but the windows are actually very secure up there.

When we left in July 2013, all of the front windows were in. This was not nearly as much work as we had hoped to accomplish but that seems to always be the case!
The other big development that occurred during that week was we finalized a plan for one of our neighbors up there to work as a contractor to help us on the cabin. Since we were to the point of mostly interior work and things that are more “regular” construction rather than LHBA-specific items, we felt OK about having him do some of the work. We were so fortunate to have someone who would be nearby to keep an eye on things, but also he’s retired and doing contracting jobs as part of his retirement, so our expectations/schedules/money definitely lined up!

No comments:
Post a Comment